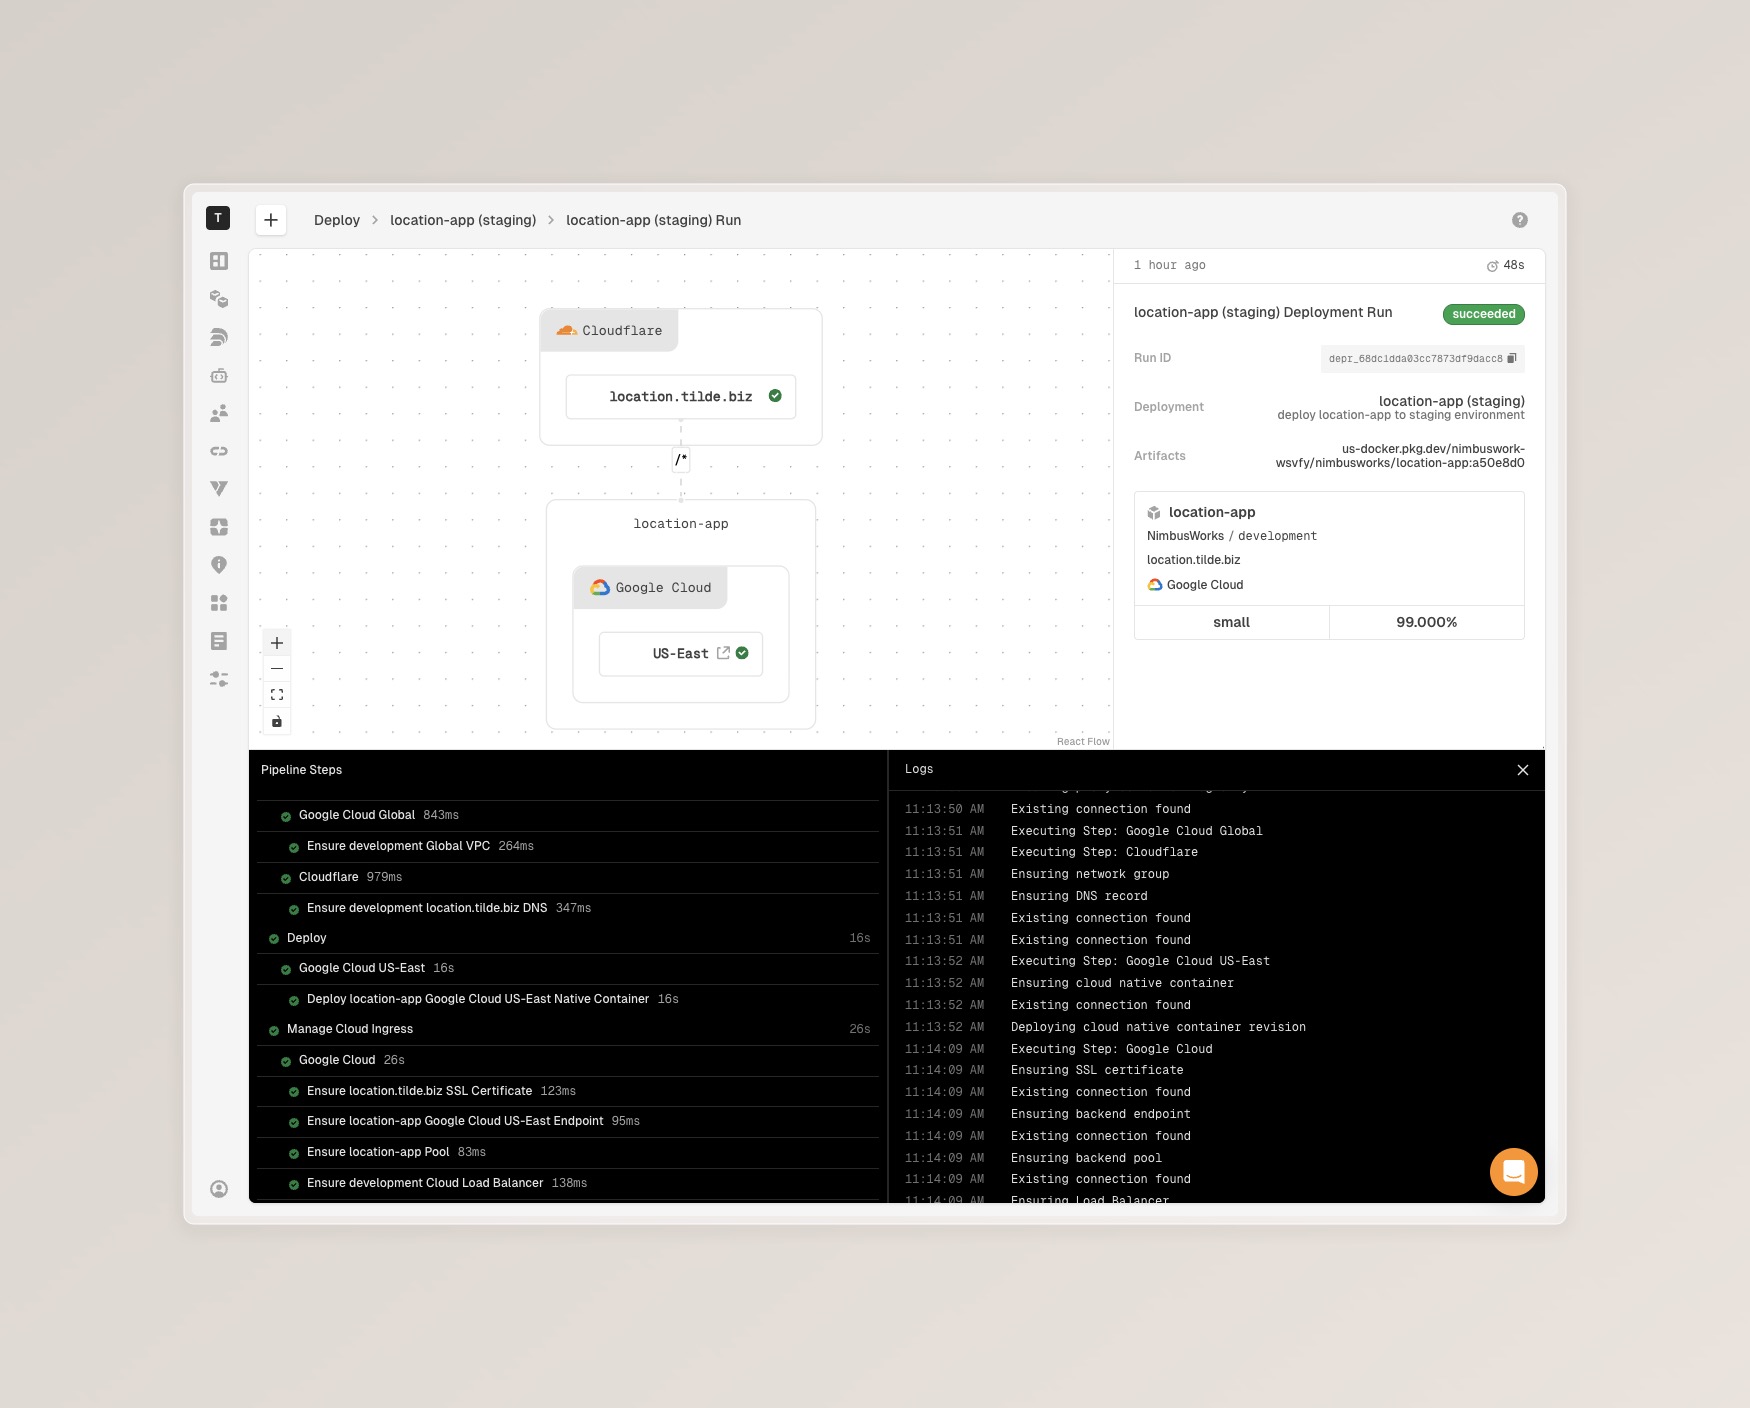
A deployment run executes the configuration saved for a project environment. Run history shows its status and logs. A preview is an explicitly selected deployment target; a normal run does not automatically create one.
Table of Contents
GitHub
Use GitHub Actions to build committed code and deploy it on events such as a push or pull request. Configure the workflow and its Hyphen credentials in your repository. Connecting a repository alone does not run a deployment.
GitHub setup is optional for deploying a local folder with the CLI.
CLI
Use the Hyphen CLI (hx) when you want to launch a deployment run directly from your terminal or a custom automation script. The CLI builds and uploads the current local app, uses uploaded builds for other included apps, and reports deployment status until the run completes.
For details on the build process, see Builds.
hx deploy --env production
Run from the app folder initialized with hx init. Use the Copy CLI command action in the menu beside Deploy to copy --env (included only when the environment's type isn't development); the organization and project come from your app folder's .hx file. Check that the folder's .hx file links to the project shown in the menu before running it.
The CLI authenticates using the credentials saved during hx auth.
Plain hx deploy selects the environment of type development in the project configured in .hx, independent of its name and the browser selection. Use --env production to select an environment by alternate ID within that project. To deploy an app in another project, run from that app's initialized folder. Add --no-build to reuse uploaded builds. See the CLI reference for examples.
If you are authenticating in a CI/CD environment and need to authenticate using an API key, you can do so in 2 ways:
-
Use API Key
--use-api-keywill look for the HYPHEN_API_KEY environment variable first and if not found it will prompt for the key.hx auth --use-api-key -
Set API Key
--set-api-key VALUEwill expect an inline value. The risk in using this method is just in exposing the secret in your terminal output, but it's provided for convenience.hx auth --set-api-key VALUE
The project needs ready container registry and cloud workspace connections for each targeted cloud before deployment. Follow the run using the dashboard link returned by the CLI, then open the app URL from the deployed resources. To create or select a preview explicitly, use --preview and its host --prefix; see Deployment Previews.
REST API
Hyphen also exposes a REST API for triggering deployment runs programmatically. This is useful when you need to integrate deployments into an external build system, ticketing workflow, or release orchestration tool.
Create a run by sending an authenticated POST request to /api/organizations/{organizationId}/deployments/{deploymentId}/runs, using the deployment ID shown on the deployment details page. The request body is optional; include it when you want to pin the run to specific build artifacts.
Each entry must provide an appId and either a buildId (to reuse an existing Hyphen build), a build alias such as latest, or an artifacts array of published container images. When you supply images directly, include one Docker artifact per cloud you intend to deploy to (each with its own registry URI). During the run, each cloud instance uses only the artifact whose target matches that cloud.
curl -X POST "https://api.hyphen.ai/api/organizations/$HYPHEN_ORG/deployments/$DEPLOYMENT_ID/runs" \
  -H "Authorization: Bearer $HYPHEN_TOKEN" \
  -H "Content-Type: application/json" \
  -d '{
        "artifacts": [
          { "appId": "app_123", "buildId": "abld_456" },
          {
            "appId": "app_789",
            "artifacts": [
              {
                "type": "Docker",
                "target": "aws",
                "image": { "uri": "123456789012.dkr.ecr.us-east-1.amazonaws.com/custom-image:latest" }
              },
              {
                "type": "Docker",
                "target": "googleCloud",
                "image": { "uri": "us-docker.pkg.dev/my-project/apps/custom-image:latest" }
              }
            ]
          }
        ]
      }'
The response contains the deployment run record, including its ID, current status, and pipeline steps. Follow-up calls to GET /api/organizations/{organizationId}/deployments/{deploymentId}/runs/{runId} return the latest status, and PUT /api/organizations/{organizationId}/deployments/{deploymentId}/runs/{runId}/status (body { "status": "canceled" }) lets you cancel a run that is still in progress.
Dashboard
The dashboard deploys uploaded builds; it cannot build source files from a folder on your computer.
- Open your project and select its environment, or open the deployment details page.
- Select Deploy to run the latest uploaded builds. If requirements are missing, complete them using the setup dialog. For an app without a build, use its CLI instructions from your local app folder.
- To choose a previous build when multiple builds are available, open the menu beside Deploy → Deploy previous build…, then select the build to deploy.
- Follow the run's status and logs. After it succeeds, open the app URL from the deployed resources.
All run methods use the saved deployment configuration and appear in deployment history. Their source differs: the CLI builds local files, GitHub Actions builds the checked-out repository, and the dashboard uses uploaded builds.